|
On of the criteria to pass the minor is that each student gives the class a lecture about a subject they've been busy with for the past months. Optimizing your application and increasing the overall performance was something that has kept me occupied for a while because our own project had some performance issues aswell. Working on this topic for a while has taught me a lot of little details about the Unity engine's workings. So on I decided to share this knowledge with the class and give a masterclass about performance and optimization in Unity.  Subjects I went into detail about are: Rendering, object batching, the profiler and frame debugger, culling and light baking. I closed with some general tips and tricks to up your application's performance.
The full presentation can be found here: Performance and Optimization in Unity3D. Reception was good and more students showed up than I had anticipated. I generally enjoy teaching others about something I'm interested in but I tend to dawdle on irrelevant subjects while I should continue with the topic instead. This was a good moment to reflect on my goal of working on my communication skill and the feedback I received during the earlier peer assessment about talking slower. After the class I asked a couple of students what they thought about my way of talking and way of explaining things. Most answered that altough I talk a bit fast I was clear and understandable and explained everything thouroughly to understand. The presentation supposedly had to be filmed so it can be assessed at the end of the minor. However this was stated only after I had given my masterclass. Over the course of the minor I've been continiously busy with improving the graphic fidelity of the simulation while still keeping a steady performance for VR. Sprint 1 was mainly a prototype set up to learn Unity to the other teammates and give an idea of what we want to create for the product owners. During sprint 1 and sprint 2 I was working on creating a more realistic atmosphere. One you would encounter inside of an airplane. The feeling I described the airplane with was "clean and matte" as a smooth seemingly plastic surface that up close is actually more rigid. 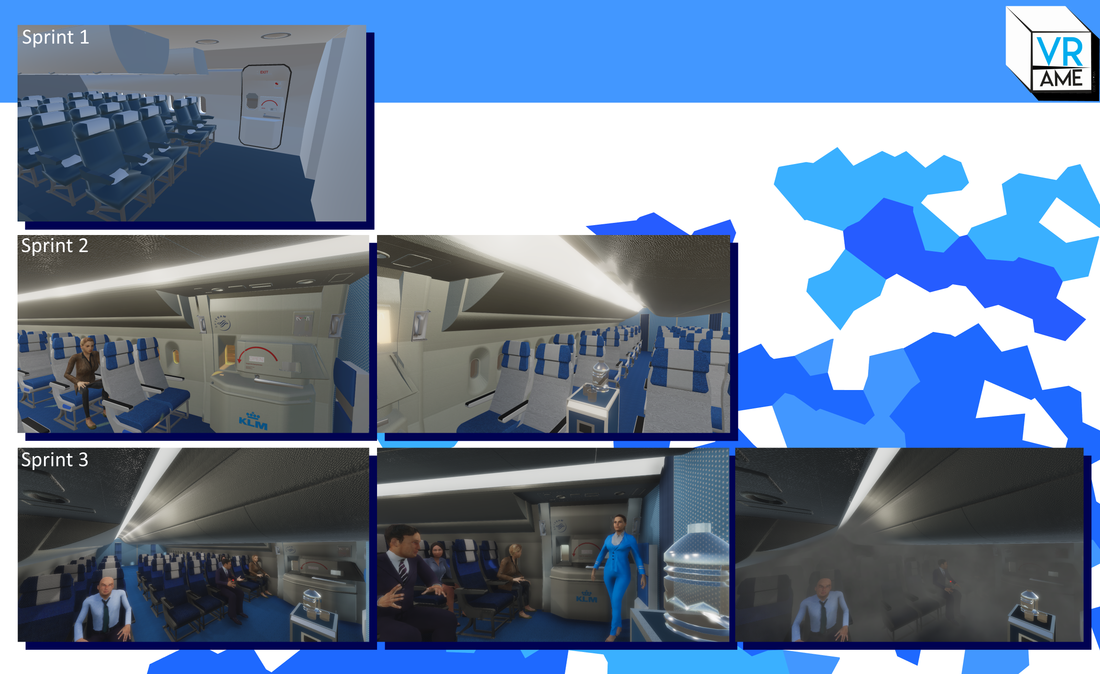 The result of sprint 2 rather encapsulates this feeling but something was still off. At that point we got somebody with extensive experience in Unity and rendering from outside the school to look at our project, Nico. In his spare time he's been busy with rendering realistic scenes in the Unity engine through use of the Physically Based Rendering (PBR) concept. PBR is a way of managing materials and lighting so that it mimics that of the real world. The idea is that one creates a room with lighting settings that come close to how lighting behaves in real life. Inside this room there are a few objects with materials assigned to them (plastic, wood, metal) that make use of the proper values. Each material has a certain value on the specular map. You keep tweaking this room until it's almost indistinguishable of the real world. This is called your reference room. Whenever you create a new model and texture you place this inside the room. If it looks like it belongs in the room you know you've done good. However, if something seems off you know it can't be the material or lighting so you'll have to make changes to either your model or the texture. 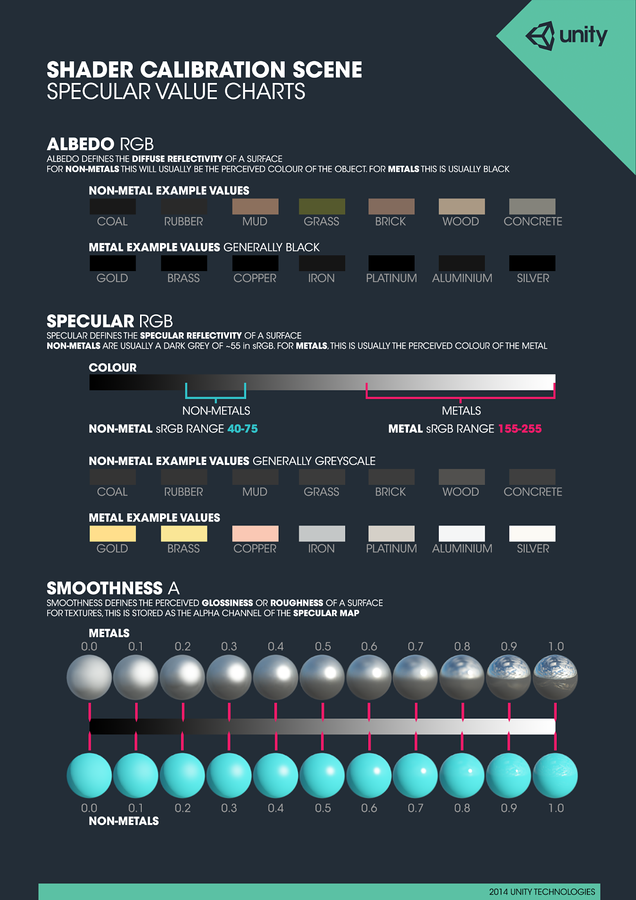 Specular shader values for PBR in Unity Nico also explained the difference between the forward en deferred rendering paths and how they impact the visuals of your game. Aswell as rendering in linear space and gamma. Both of which have better results when properly used. Especially for the lighting. We've also explored post processing effects and how you can add these to your Unity project. They used to be a standard asset, available from the editor itself. But it has moved to the Asset Store instead (link). The Post Processing Stack adds effects like Anti-Aliasing, Bloom, Ambient Occlusion, Color Grading and Color Correction. In our case ambient occlusion gave the whole scene that extra touch of realism by adding darker shades where lighting can't reach. AO is calculated from using the depth buffer and from there on out it applies a pseudo shading to those areas. 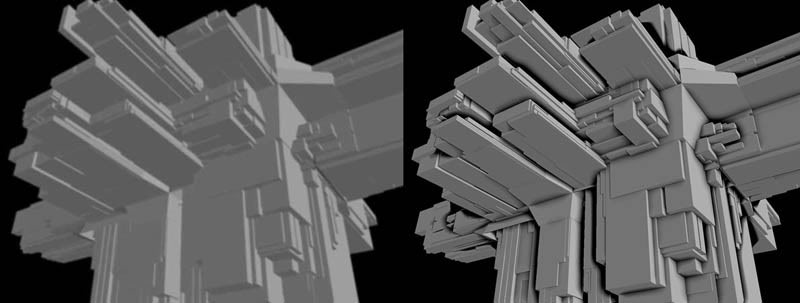 Left: No Ambient Occlusion. Right: Ambient Occlusion added To further improve performance and overal look we also asked the Game Assets class expert, Freark, for some tips. He mentioned that baking your lighting has great positive effects on your performance and depending on the lightmap even looks better than dynamic lighting. However once we started baking our lighting, black spots appeared all over the airplanes interior. For a while we just assumed it's not possible with other settings we have but after some research we discovered that this happens due to the UV-map of a model not being properly unwrapped. Faces on the UV map would overlay which, of course, would result in an overlapping lightmap aswell. Explaining the black spots. We decided to leave light baking for a later stage because unwrapping the textures for the airplane appeared to be a lot more trouble than anticipated due to the fact that it consists of a lot of individual models that have incredibly tiny faces. Overal we came to a pretty realistic seeming scene which runs at a steady 50 - 60 fps (if nothing is happening) in the VR headset. 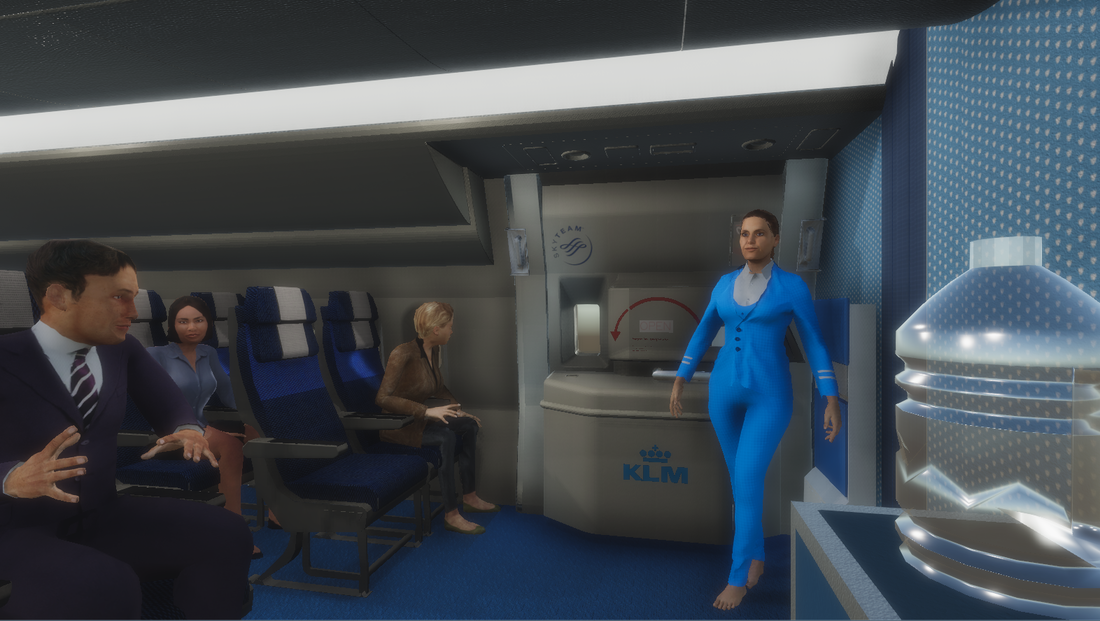 The students had to prepare a small presentation about their work and process up to this point. Two other students received the processbook of another student and had to rate it according to an assessment rubric provided by the faculty. After the presentation the student received feedback on both the presentation and the current processbook that the other students looked at. This way the student gets an idea of how the final assessment will be conducted and has time to reiterate the current process book. I didn't prepare any visuals for my presentation. Instead I showed this blog and talked a bit about the process behind some of the topics. At the start of the semester I set goals of being more communicative with my team and through being the Scrum master and mediator I reckon I was able to develop my communication skills. Other goals were more generic like: developing for VR, learning more Unity functionalities. These two are an ongoing process. Instead I talked about how I've been busy with increasing performance for VR applications in Unity and how to simulate sound in VR, keeping in mind the laws of air and material resistences. 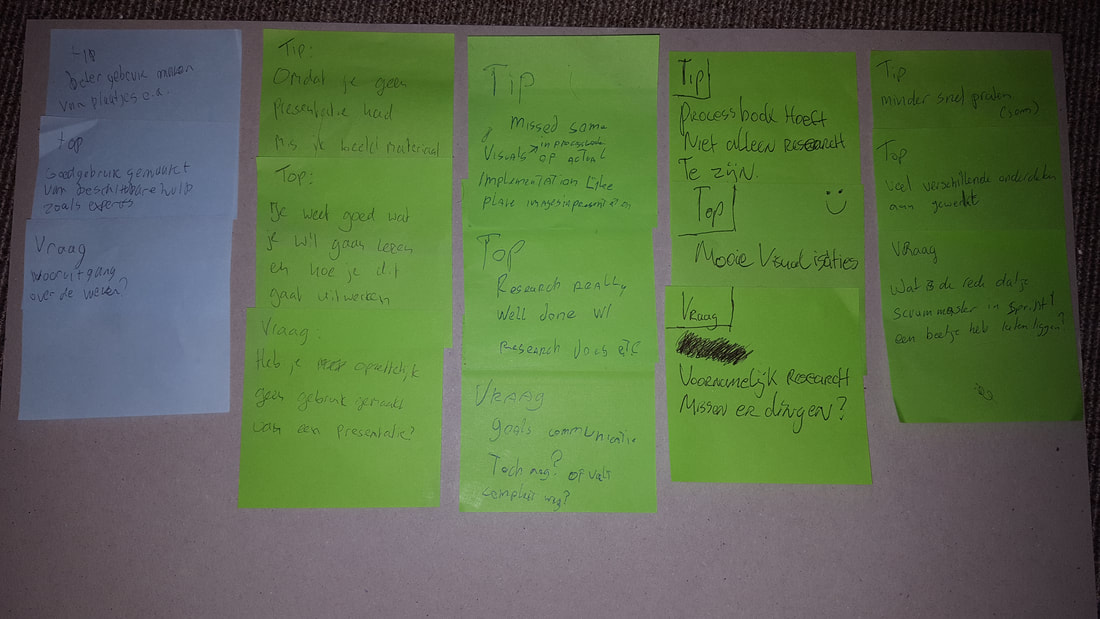 Feedback constited mostly of that I should have prepared visuals with the presentation and that I should try talking at a slower pace. Another worthy mention was that it is good that I do so much research into my topics but that my process book should also mention the smaller details and works.
Audio is always an important part of a game, even more so in training simulations. Generally audio is done binaural, panning between the left and right ears to give a sense of hearing the direction of which the sound is emmitting. The last Virtual Technology class' subject was about spatial audio in Virtual Reality. With Virtual Reality it becomes that much more important to have a proper audio system to immerse the user into the world. There is a lot to learn when looking at how sounds and the human ears work in real life. One of the biggest aspects is how sounds are perceived differently depending on the direction it comes from. So called HRTFs (Head-Related Transfer Functions) are a sort of filter that changes the way the sound is perceived (YouTube video showcasing the difference between audio with and without HRTF in Counterstrike: Global Offensive can be found here). Another thing to take into account is how sound travels through space. Air itself already has effect on soundwaves, but so does every other material. Concrete absorbs and transfers sound differently that a piece of cloth does. There's even a difference in concrete that's connected to the world or disconnected. The students were tasked with finding a way to replicate some of these features in Unity and see how Unity handles audio. From itself Unity has a rather lacking audio feature. There's an option to enable 3D sound which opens up the option to use spatial audio, panning, rolloff, doppler effect and some other settings. Above all of this, hidden in the project settings, the audio source can be set to make use of HRTF filters, provided by Microsoft. Unity audio is relatively wholesome for simple average projects but lacks in features like reverbing sound from surfaces and materials. For our project we wanted to delve deeper into audio and Virtual Reality.
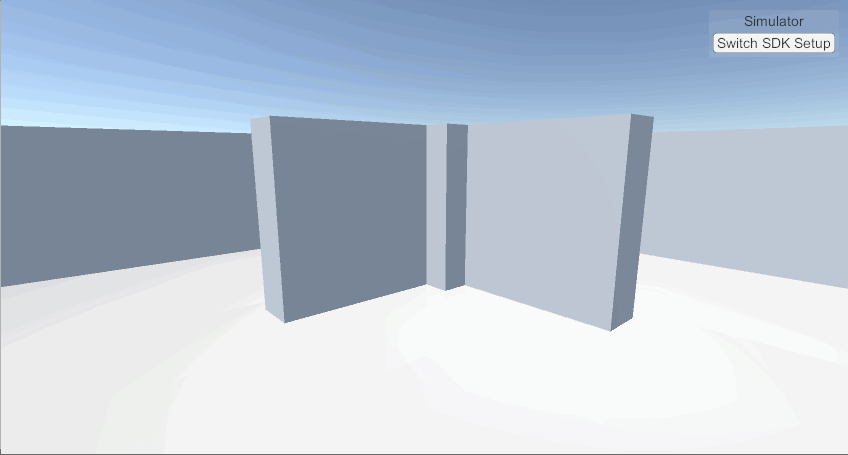
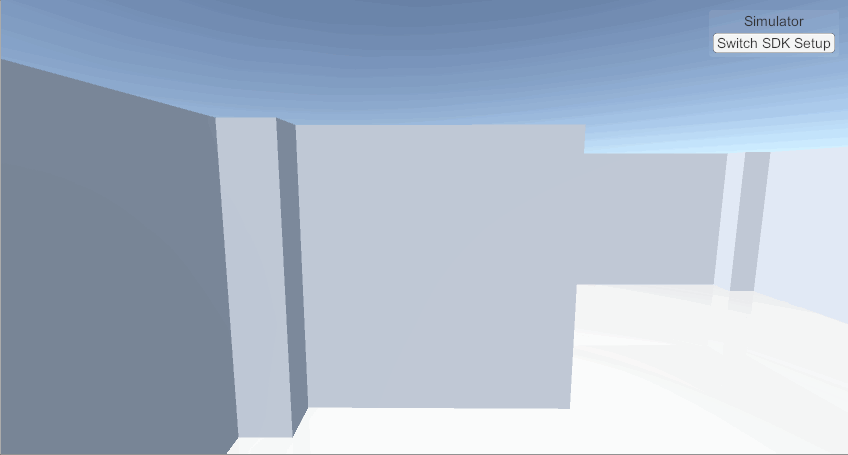
To demonstrate the differences and pros and cons between Steam Audio and Unity audio I created a scene with a concrete room and a few walls. Within this room there are two spheres that can be turned on and off. One uses Steam Audio and the other uses Unity audio. The spheres circle around the player, passing behind the concrete walls in its path. 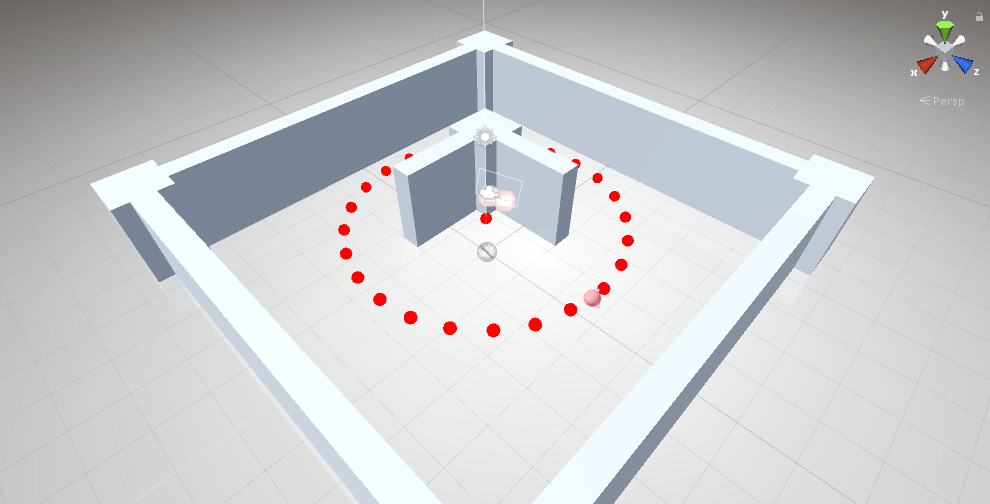 In case of the Unity audio sphere no difference can be heard when the sphere dissapears behind the concrete walls in the middle. The only noticible feature is the HRTF filters and the direction the audio comes from. The Steam Audio sphere on the other hand loses a lot of it's volume and higher pitches once it travels behind the walls. Sound becomes more clear once the sphere reaches the corners of the walls before being visible again. During the next Virtual Technology I let the teacher and some other students try the application and listen to the differences. With both spheres everybody was able to tell where the audio was coming from. Wether it was above or below them. The added value of Steam Audio however is the fact that the perceived sound changes based on the position of the source and the objects between the source and the player.
Steam Audio offers more features like placing sound probes in the rooms where sound can in fact travel to better replicate the HRTF filters. For the KLM training simulation we decided to continue using Steam Audio. An airplane muffles sound in an interesting manner due to use of materials and shapes and Steam Audio has the power to simulate these filters.
For the class Virtual Technology I was tasked to do research into a subject of choice, related to virtual or augmented reality. During that time the team has been discussing the idea of having gesture recognition in the training simulation as a means of communicating with other characters. Gestures and poses to block passengers from passing, beckoning passengers to move over here or sending them somewhere else. We have discussed this concept with the KLM aswell and they mentioned that it would not have any priority to the training but could be an extra functionality towards pushing the realism of the training. Gesture recognition in virtual reality is relatively new and not a lot of information is available as of yet. A few games have implemented a basic version of gesture recognition where the players can wave at a character and the character will wave back. Another example, Left-Hand Path, takes it a step further and implemented different motions to cast different spells. This would require a form of recognizing the different motions of the controllers and compare them to a library of pre-set motions. After having done some research into available tools and examples (the full research can be found at the bottom of this entry in pdf-format) I called upon the VR Technology teacher, Juriaan, to discuss gesture recognition. Juriaan mentioned that there is a distinct difference between gestures and poses. A pose defines a stationary, single frame, stature. Like crossing arms in front of you. A gesture is a series of poses over time. A motion like beckoning. Looking for a gesture would require having knowledge of the position and orientation of the controllers and having to compare these to pre-set values of a gesture. A problem with this is the decrepancy in margins of the motions. Someone could make a beckoning motion while having the controller pointed downards while it is meant to trigger an event when it is pointing forwards. It's a difficult task to make a clear difference between when something is a gesture or an accident. For the time being I have set this aside as more pressing mathers are at hand. However, we still keep the idea in tha back of our heads should the project be at a state it is finished and we have spare time to explore gesture recognition more. Gesture Recognition in Virtual Reality
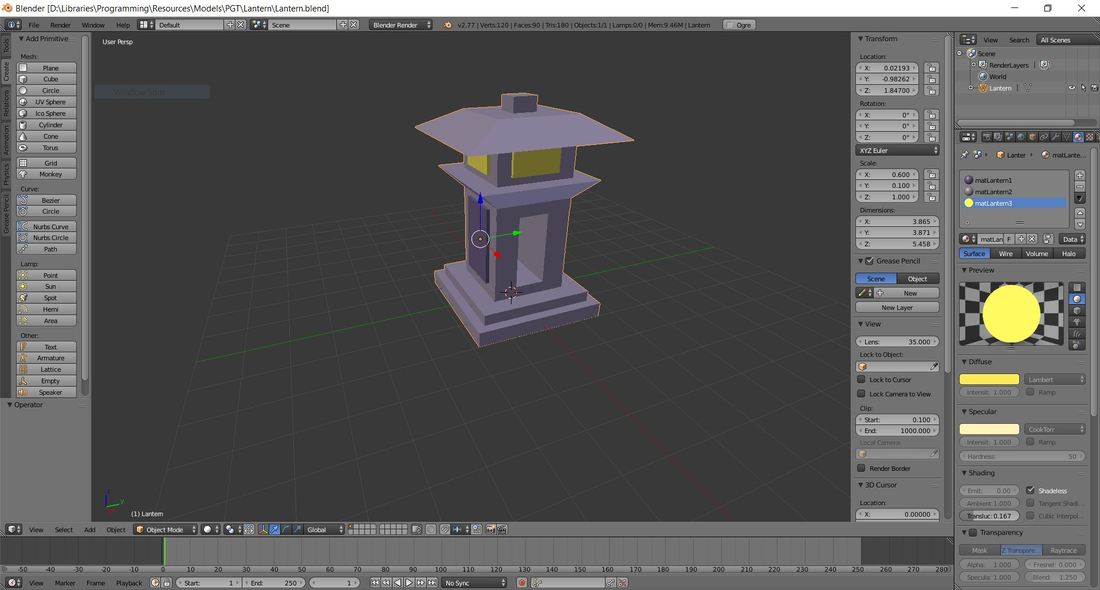
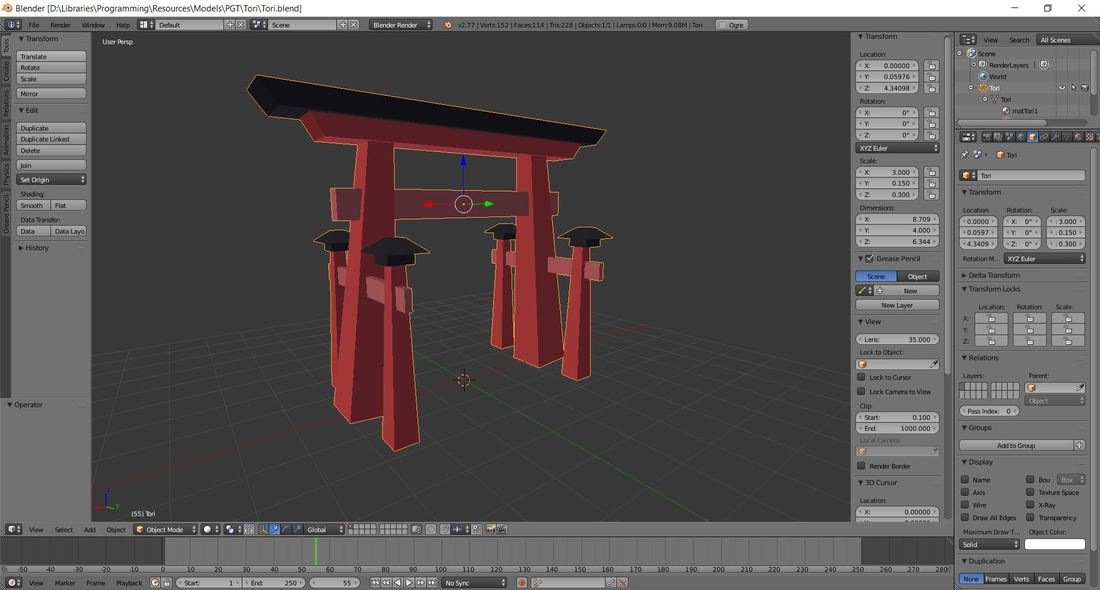
The virtual reality minor offers four additional in-depth classes, two of which the student has to follow. Virtual Fashion goes into the use of the Clo3D tool and how to simulate cloth physics. UX Interaction Design touches on the subject of user interaction in virtual reality and setting up user tests. The two final classes have a more technical approach. Virtual Technology teaches about the general virtual reality hardware and Virtual Game Assets is about creating for virtual reality (programming and modelling). For this semester I've enrolled into the Virtual Technology and Interaction Design classes. Virtual Fashion does not have any relevance to our project nor does it interest me personally. I'd rather learn new things and put effort into different subjects as opposed to learning a software tool which I'll most likely will never use again after this semester. Virtual Game Assets is in my field of interest. However the class is about working with Unity3D and the Maya modelling tool. Both of which I'm already well experienced with. Therefor I chose not to follow this class. Interaction Design on the other side is relevant for the KLM assignment. The team will have to test a lot of different cases with the KLM target group to assure the simulation is as close as possible to the real thing. Learning how to set up proper user tests is of great value. Virtual Technology is the class I had most interest in and was looking forward to. Knowing what the available hardware is able to do or how to tackle certain hardware related issues comes in useful. For example; our team likes to make use of a form of mixed reality by creating a physical door that can be operated from within the virtual world. All while making use of the Manus VR Gloves. The teacher has already informed us a lot on this very subject. Below I'll describe the first two classes of each masterclass as they were mandatory to follow and provide the neccessary proof to show my competence in these classes. Virtual FashionThe first two classes were really useful in the sense that I did not attend these classes. During these periods I worked on getting to know the VRTK tool kit and how you can create interactions with objects in VR which can be read more about here: Virtual Reality and Unity. For the sake of providing a form of proof that I know how to work with the Clo3D tools taught in the masterclasses I painted this beautiful relevant dress:  Virtual Programming and Game AssetsThe start of this masterclass consisted mainly of learning how to use Unity3D and the Maya modeling tool. We were assigned to create our 'dream house' in Maya and import that into Unity. Given I don't have any experience in Maya. But prior to this masterclass I've been using Unity and the Blender modeling tool for a couple of years and did not take part in the dream house assignment. Instead I went around the class to see if I could help other students with Unity. Pictured below are two models I created for an earlier school project.
Interaction DesignThe introductionary classes talked about general user experience design and what differences there are with those in virtual reality. We were paired with other students and had to create a piece of media in where each one of us would introduce themselves and how it should play out in VR. For this we made use of a 3D camera and took a picture outside with all of us standing around the camera. On each of us there is a textbox with our names and study faculty and the idea was that in VR a user can approach any of us and initiate a conversation to know more about that student. Luckily working out the whole concept was not necessary.  Virtual TechnologyThis masterclass is the one that interested me most. The first two classes went into the inner workings of the VR headset and a bit of history in VR and AR. For this class I started two researches which can be found below: Every following class had a assignment like giving a presentation about how you could improve modern day headmounted displays or pitch ideas for new technologies. One of the presentations about audio in Unity can be found here.
|
|||||||||