|
Today we scheduled a visit at the KLM training offices with our product owners who would make sure a couply of stewards would be present. For this day we prepared the demo to include a voice over that gives simple instructions to the trainee to slowly introduce them with virtual reality before going to the door procedures. The trainee will be tasked with opening the door, closing the door, arming the slide and opening the door again with the slide armed in place without any prior instructions of how the door works (as they should already know these procedures from the real world training). As a second test we asked the steward to remain seated while the airplane cabin fills with smoke (this event was not communicated to them beforehand to keep the act of surprise). We had planned to equip the trainees with a heartbeat sensor to get an idea on how more stressful the smoke scenario was compared to the starting scenario where nothing happens. A user test document can be found here: User Test (full). 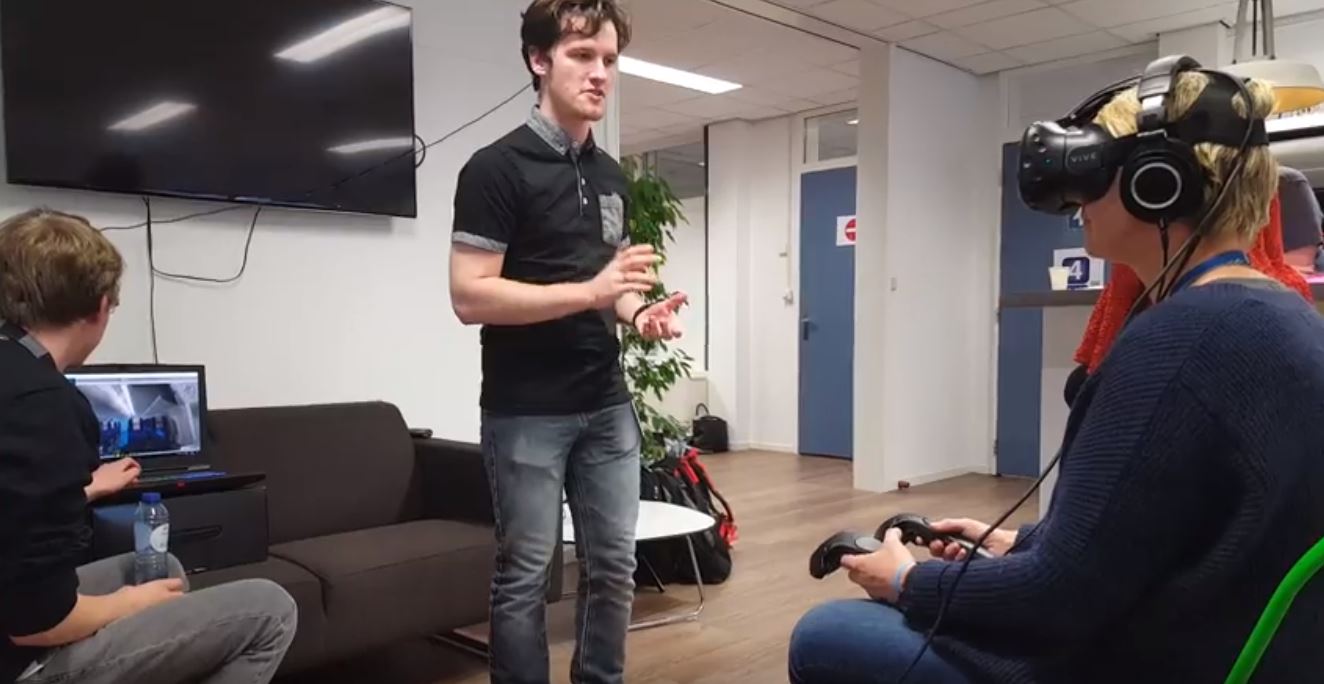 After the test we asked the testers to fill in a questionaire (can be found in the user test document). Feedback was promising and we were notified of some details we had missed.
General reception was that it looked incredibly good and users felt engaged and immersed due to proper use of audio cues. The questionare results can be found here. We took all feedback into consideration and changed our next sprint planning accordingly to accomodate for the missing features. One of the scenarios that could happen inside the airplane is the cabin filling with smoke due to inside or outside fire. This changes how the stewards should operate the door and work with the passengers. Not to mention this adds a lot of stress to the situation as a whole which could impact on how the steward handles and reacts. For these reasons we decided that a "smoke situation" would be one of the first scenarios to work out. Making particles in Unity is fairly easy. Making performance efficient particles that look good is a lot more difficult. Especially when creating for VR applications where the rendering path is different. This all depends on what shader material is assigned to the particles texture. To test the different results on looks and performance I created four different particle systems to compare. Alpha Blend: After rendering the screen the alpha value of the texels are calculated to see what color is behind the texture. The two values are blended together to give the illusion there is transparency. Altough giving good looking results, Alpha Blending is relatively heavy on the performance. Vertex Lit: This shader only calculates light over the vertices of the mesh or texture. Therefor pixel-based rendering is not happening. As a result the center of your image will appear a lot darker than the corners, dependent on the size of the image and the distance to the light source. On that note, the vertex lit shader is incredibly low cost and produces decent results. As an added plus it changes color dependant on the direction of source lights. However, when in complete shadow it appears as complete black. Unlit Transparent: This is a combination of the latter two where transparency is calculated over the texels with lower alpha values. Lighting however is not calculated and the resulting product is a smoke plume that looks like the provided texture. This means that no mather the direction of the light source. The smoke will always appear the same as if it's receiving an equal amount of light from all corners. Standard Specular: A shader that is generally used for Physically Based Rendering and metallic surfaces due to the way it handles lighting calculations and applying gloss. With the cutout setting it takes away a percentage of the transparent edges of the smoke texture giving more rigid outlines. Though efficient and having a nice cartoon look it doesn't convey a proper smoke feel. The reasoning behind trying this was that it reduces the drawcalls to calculate the transparent layers which became an issue when placed inside the smoke cabin. However the thick layer of smoke completely hid everything in sight the moment the smoke came in. Given the fact that we're currently pushing the concept of making the simulation look real we chose to make use of the alpha blend shader for the smoke. The impact in the airplane scene is pretty high but a lot of overhead comes from rendering the plane itself because most of the meshes aren't properly grouped and optimized. Redoing most of the models is on the to-do list. After that, depending on the resulting runtime performance, we can change the smoke shader. 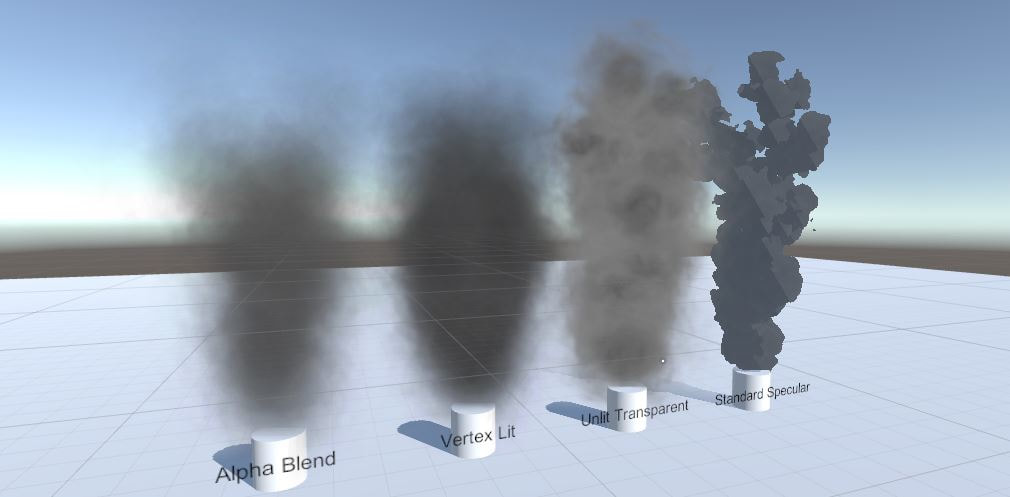 One of the goals for the project was to implement a form of mixed reality. Mixed reality is the idea of combining the real world with the virtual world. Walking around in VR space where the walls are in the same location as the real world is a form of mixed reality. In our case we wanted to translate the airplane door to the virtual space so that the trainees would actually have to hold on to a door handle. Enforcing the idea of opening the door and developing muscle memory, hence it is a training simulation. Research started with figuring out how the HTC Vive controller work and how they are tracked within Unity projects with the use of the VRTK toolkit. The Vive website has an extensive article of the inner workings of the controllers (link) outlining the guidelines for developers. The SteamVR plugin handles all of the tracking and correctly showing the controllers in Unity. Therefor to get the position and orientation of the controllers is as easy as retrieving the transform component from the controller objects. No extra work. I explored a few options on how to track other objects in virtual space. This could be done with the Vive controllers itself or third-party tracking sensors. However the latter would require different products and another toolkit next to the already in-use SteamVR and VRTK toolkits which is an unnecessary overhead. With the available resources I went with the first approach of using the Vive controllers.
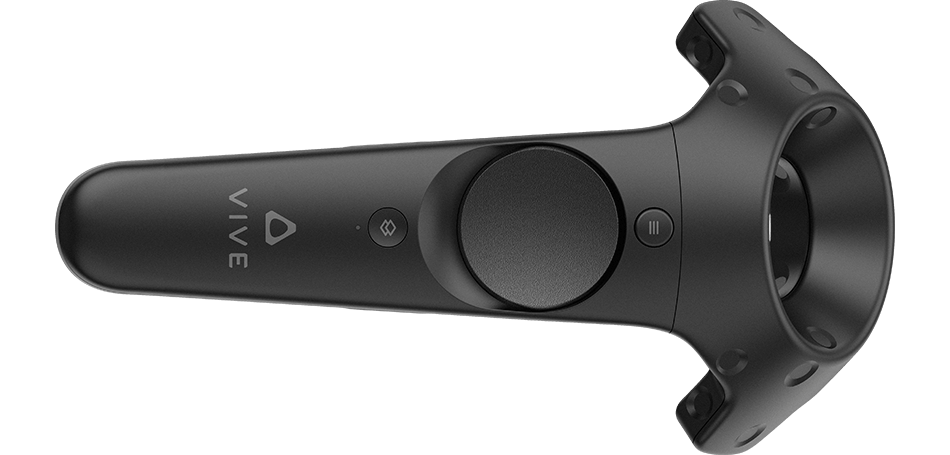
The Vive had two options when it comes to tracking. The Vive controller and the Vive trackers (as pictured above). The Vive controllers are mainly used for interaction from the player in the virtual space. However the trackers have the benefit that they can be mounted on any object making that object trackable in VR. At this point in time the trackers are sadly not available to consumers yet. So we had to make do with two Vive controllers. One for the player and one to track an object. To create the illusion that an object in reality is also in VR the position, shape and scaling all have to be the same for it to feel real. For the example I used a bottle of terpentine that had a fairly generic shape and recreated that object in VR trying to get the same dimensions. One problem arrose: the player needs their hands free to pick up the bottle and the only free hand is the one not being tracked. With the headset on the player would not know where his or her hand is. So a new question took priority: how can we track the show the player's hands position in VR while keeping the hands free? During research into the Manus VR gloves a picture of an early development build of the gloves came up where Vive controllers were attached to the users forearms. This gave us a direction to experiment with.  https://www.vrfocus.com/2016/04/not-really-here-manus-vr-talks-episode-2/ Over the weekend I created a simple controller mount with scraps of foam and velcro and developed a scene in Unity that has a table, with the same dimensions as the table in the VR room, and a bottle, to which the other controller is mounted. Now the position of the users hand is approximately being tracked and has the hands free. And the object is being tracked. That is all there is to it given that the tracking of the controllers happens already, the positions of objects is by itself already in the same position as in reality. 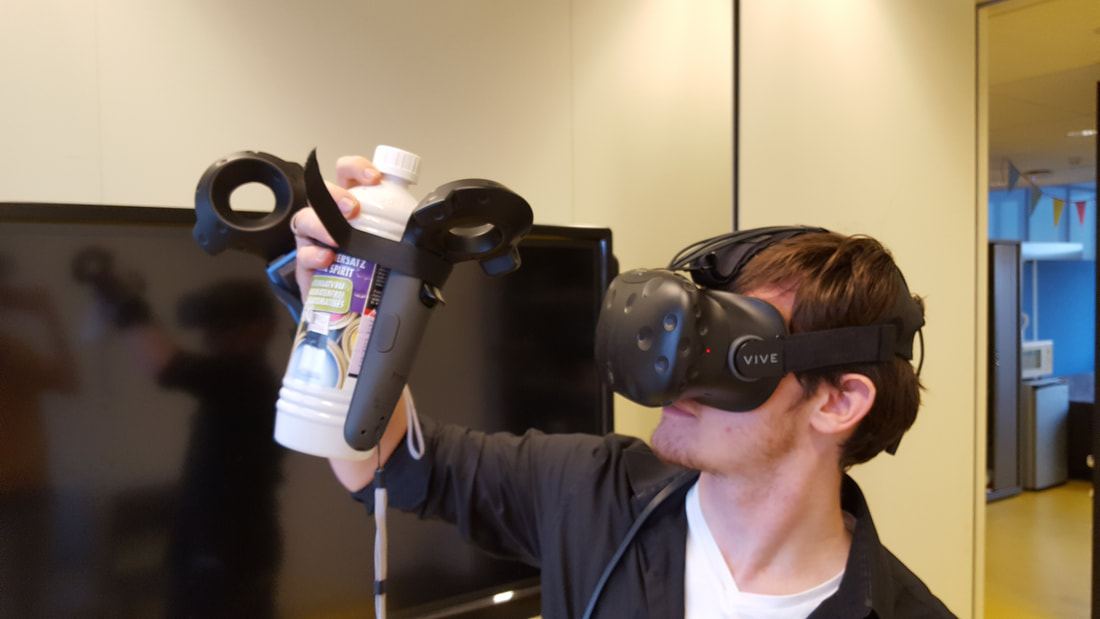 The picture above is the resulting product. The user no long has the ability to use any of the buttons on the controller but has full control of their hands. Given that the human brain is excellent in replacing your arms with some other appendage, simply having a sphere in the headset as your arm is enough.
I asked a couple of students to try out the project with the bottle and all of them mentioned that it works better than anticipated. Even though the users don't see a proper hand in VR, the fact that they can see their hand is close to the bottle they instinctively open their hand to grab it. It felt natural. With this conclusion I started researching interaction with more complex objects for mixed reality purposes. In case of the KLM project: a door handle. |